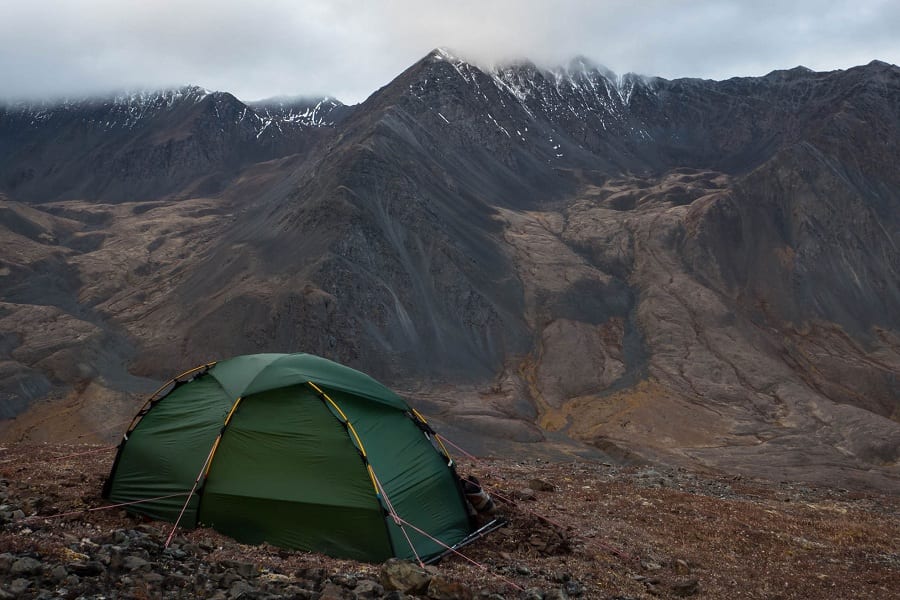
Many people often think of buying a new tent when their tent starts leaking, but you can easily avoid the leaking with the few simple repairs mentioned below.
You do not want to head out to camp only to find your tent is leaking.
It will ruin your mood and camping experience. The main reason it deteriorates is the constant exposure of nature and roughly handling it.
Contents
Step-by-step Guide To Waterproofing Your Tent
There are three levels of repairs that you can do on your tent according to your need. We recommend doing all three to make your tent robust and durable against the weather.
If your tent seems fine for the first and second step, then you can skip that part for this time and directly move to the third part, i.e., reproofing the tent.
Part 1: Sealing your tent seams
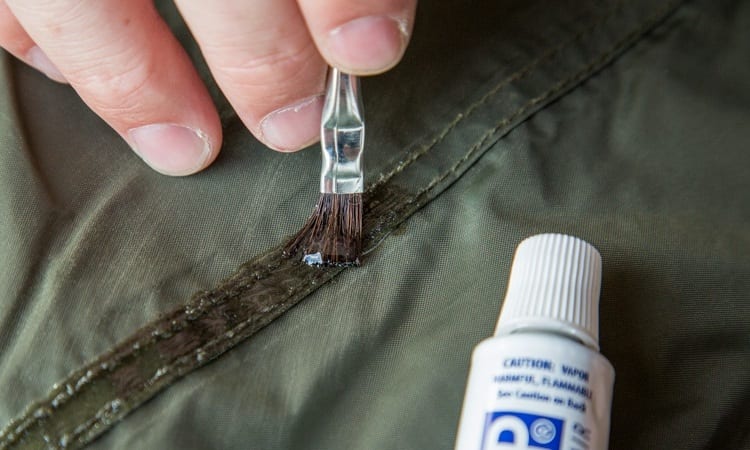
A majority of tents come with sealed seams, but the sealant can wear out with the hem. This wearing out of the adhesive will result in the water leaking through the seam.
Come under good lighting and start checking your seams. If you feel few places need a quick fix, get ready to seal it.
Materials you need
- Seam sealer
- Rag
- Rubbing alcohol
- Cloth to contain spills
Directions
- Ensure the sealer you choose is the right fit for your tent. Polyurethane-coated fabrics need a different sealer than silicone treated material. There are high chances that your tent is made out of polyurethane fabric but try to cross-check with your manufacturer or tent manual.
- Set your tent up for a more accessible application. You are required to seal the inner side of the tent and the underside of the fly. You can try to put the fly inside out to reach your seams easier.
- Your next step is to prep the seams by using rubbing alcohol and a rag.
- Once you clean the tent, apply the new seam sealer generously with precision.
- If you notice anyone side of the seam coming undone, it is safe to say that the rest of the seams would come off someday. It is better to treat them early, so consider applying to the rest of the seals.
Part 2: Refreshing the urethane coating
If you see tiny flakes coming off from your tent, then it is time to apply a urethane coating. You can see these flakes coming off from the inside of your rainfly or on the floor.
Materials you need
- Tent sealant
- Sponge with an abrasive side
- Rubbing alcohol
Directions
- Check the material of your tent and buy your tent sealant accordingly.
- Lay your tent flat on the ground and gently scrub off all the flaking coating with the help of your sponge and rubbing alcohol.
- Apply a coating of the tent sealant to the entire floor or on the whole fly.
- Let the tent sit and dry for 24 hours before you pack it for your next adventure.
Part 3: Refreshing the DWR (Durable Water Repellent)
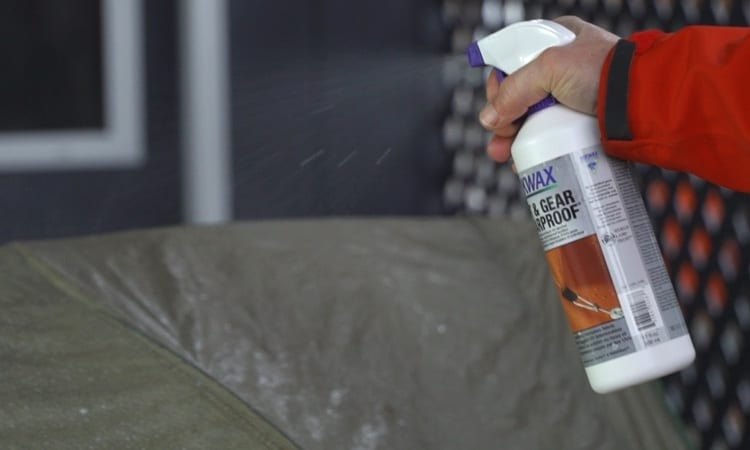
Reproofing is a mandatory step that you have to do on your tent. This step is an overall waterproofing solution that will make your tent waterproof.
We recommend all campers do this step to increase their camping/survival tent’s life.
Materials you need
- A spray-on water repellent product
- Clean damp cloth
- Water
Directions
- Wash your tent and set it up when it’s wet. You do not need to dry the tent as we need a wet tent to work on.
- Spray the waterproof liquid evenly without missing a spot.
- Let your tent sit for a couple of minutes, take a damp cloth, and wipe off the excess waterproof coating.
- Keep the tent as-is for a minimum of 24 hours. Once dried, you can pack it to take the tent on your journey.
Importance Of Waterproofing Your Tent
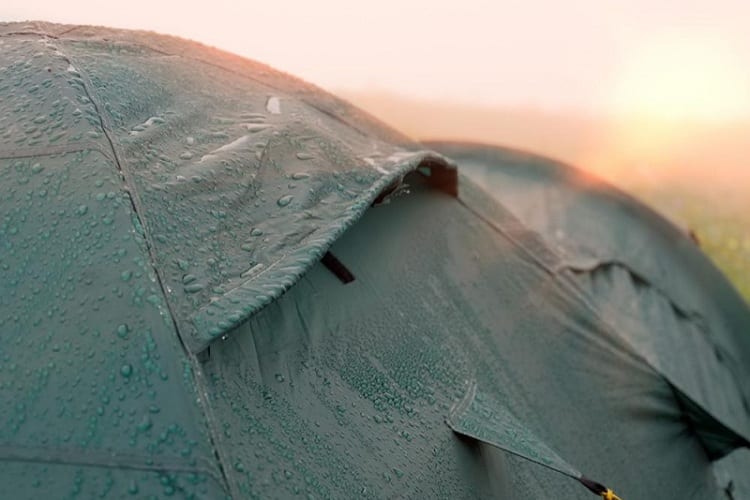
Your tent is your shelter and a second home in the wilderness. If the tent cannot perform the primary protection against natural elements, then taking a tent for camping is of no use.
You need a perfectly functioning tent to feel safe and secure.
Waterproofing is crucial for protection against rain and protection against the Sun’s harmful UV rays.
A well-waterproofed tent will save you from the harsh sunlight and keep a relatively cooler temperature inside. Waterproofing will increase your tent’s life, and you can get many uses from a single tent.
Dangers Sleeping In Wet, Humid Tents
- A wet and humid tent can be a breeding ground for mildew and mold. When rainwater traps inside the tent for a considerable amount of time, the chances of this mold and mildew growth increase.
- Sleeping in humidity can make people sweat excessively. This excess sweating will make them uncomfortable in an already tiny place.
- Prolonged exposure to wetness will cause skin irritation, especially if you have sensitive skin.
How To Waterproof Tent Made Of Canvas?
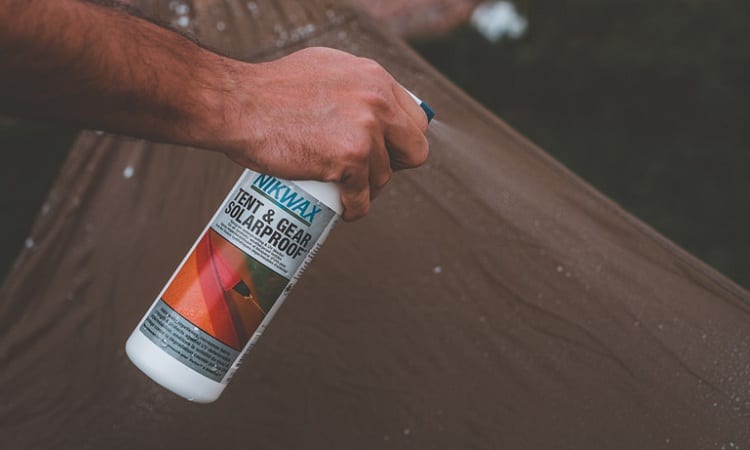
Before moving on to waterproofing canvas tents, you should know the difference between waterproofing and seasoning.
Seasoning is a process where the canvas tent gets repeatedly soaked and dried to seal away the micro pinholes in the fabric. You can do seasoning when the product is new.
This process will make your tent somewhat waterproof for several years. After few years, you might need to do silicone-based waterproofing.
You can try products like Kiwi Camp dry if you have a small tent and Star Brite’s big jug if you have a big tent.
Below is the process of waterproofing that you can do if your tent is more than two years old.
Materials you need
- Waterproofing spray
- Ladder
- Spray bottle
- Paintbrush
Directions
- Set up your canvas tent on a flat surface. Try doing this waterproofing project on a sunny day.
- Clean your tent using water and soap. Use a stiff bristle brush to scrub the layers and hose them off with pressure patiently. Washing is an essential step as canvas tent tends to grow stubborn mildew than standard tents.
- Spray your waterproofing spray with an even coat. Do not forget tiny folds and seams.
- You can use a paintbrush to double up on all the binding seams. Thoroughly saturate the product to get the best results.
- Leave the tent to dry and repeat the process if necessary.
Eco- Friendly Last Moment Waterproofing
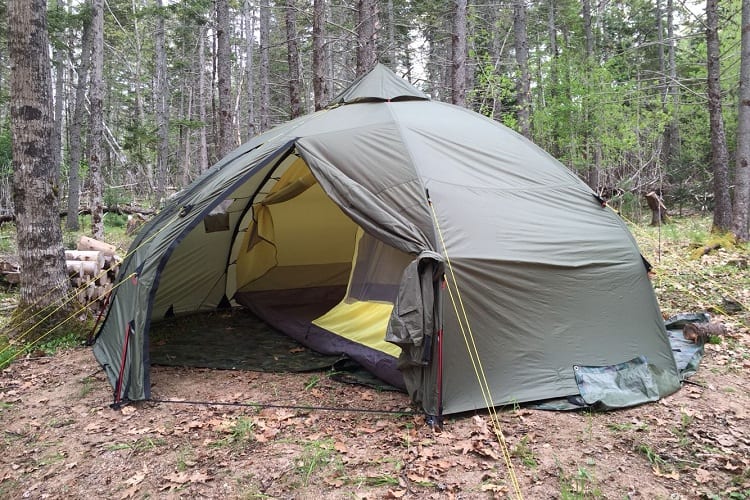
If you want to stay away from potentially harmful chemical treatments, then using a tarp as a waterproofing method will work best for you.
Pregnant ladies and individuals who cannot inhale chemical fumes use this method to enjoy their camping. This waterproofing hack is perfect for last moment waterproofing emergencies.
You do not need an entire day to let it dry or season. Grab a tarp but make sure that the tarp is bigger than your tent. Pitch your tent as you would typically do and rig up the emergency tarp on top of the tent.
Make sure to keep your shoes and gear away from the part where the water drips down from the tarp.
After you are done using the tent, you can fold and keep the tarp for your next emergency camping need!
Maintaining Your Waterproof Tent
- Never leave your tent exposed to the Sun for long hours, especially if you are not using it. After using it, store it nicely in a bag. Do not store wet tents for more extended periods. Always dry them before packing them for storage.
- Avoid machine wash as it will severely ruin your tent’s fabric and strip off the waterproofing layer.
- Only scrub when you are ready to reproof your tent. Avoid scrubbing in other scenarios where you aren’t going to coat the tent again.
- Do not wait for the tent to be highly damaged. Mend and take care of your tent when the damage is minor.
Tips to Keep Your Tent Dry And New

Besides waterproofing, there are several things that you can do to camp dry:
- Try placing a ground cloth under your tent. A sturdy tarp underneath will help prevent wear and tear on your applied waterproofing coat.
- If you notice the floor leaking, you can place a tarp to keep the flooring dry.
- Always set the tent on a higher ground than the surrounding areas. The groundwater will drain away from the tent and not towards it.
- Give space to vent for the condensation to escape. If not, you will feel wet, and the condensation will make everything inside moist.
- Pack your tent only after it is dried. Your chances of growing mildew will reduce comparatively if you pack your tent dry.
Wrapping Up
Try to practice all the waterproofing methods religiously to increase your tent’s life. Waterproofing may seem like a hassle, but you will save a lot of money down the road. You do not need to waterproof a new tent but consider reproofing the tent after several uses.
That was our handy guide on how to waterproof a tent. We hope that you follow all the steps before your next outdoor adventure. Happy camping!
Resources:

