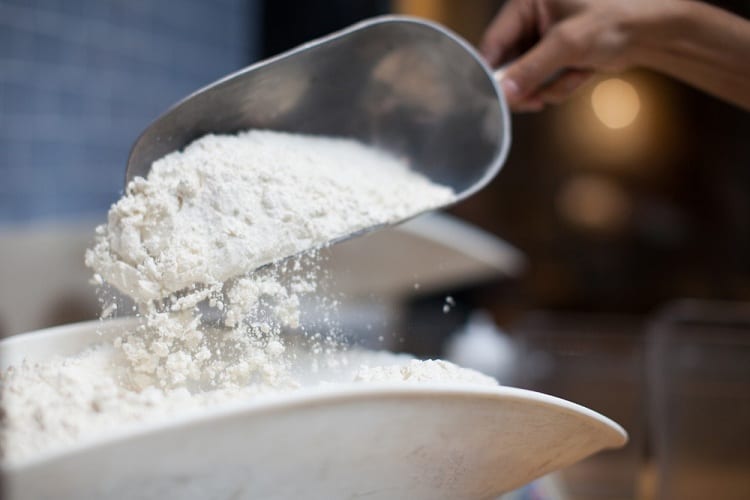
Flour is a quintessential ingredient in most foods and it likely serves as the basis of many of the meal plans you have for prepping.
However, although it’s considered non-perishable, it can still go off so you need to know how to store flour correctly with the future in mind.
How do you store flour long-term? The flour will last for between three to eight months in its usual packaging without spoiling, so if you want to keep it long-term, you need a different approach.
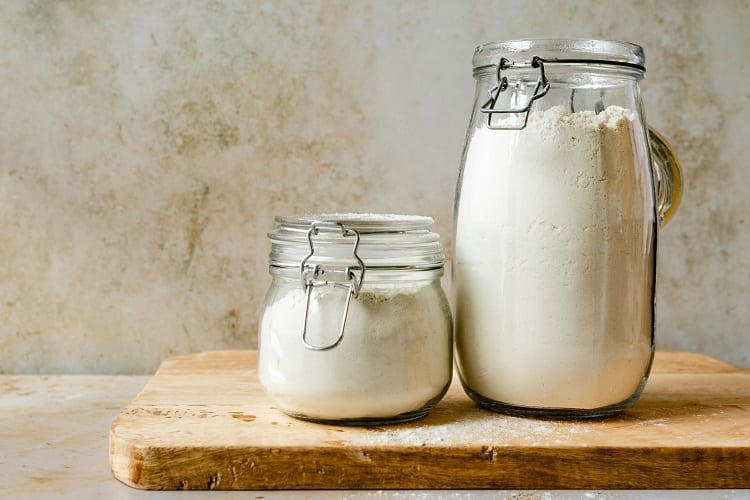
This means storing smaller portions of flour in sealed, food-grade containers and adding oxygen absorbers to keep the air away from it.
Learning how to store flour long-term is a process that will pay off with huge dividends as it means you have the basic ingredients to make so many things from bread to pizza bases.
With this guide, you’ll learn how to do it right, what air does to flour, and how to tell when your supply has spoiled.
Contents
Types of Flour to Store for Prepping

Before we can jump into the storage methods, it’s good to have an understanding of the different types of flour and how this can affect their use, and how well they keep.
Most flours are categorized by their processing method and this will directly impact their shelf life, but so will the key ingredients like wheat, that were used to produce it.
A white all-purpose flour is the best approach when it comes to prepping as it will stay longer than a whole wheat alternative.
Furthermore, plain flour generally keeps longer than self-raising flour, but you can store another raising agent as a separate supply if you plan on using it for these types of recipes.
The reason for white flour’s longevity is that it’s more refined and doesn’t include all parts of the grain like the bran and germ.
This means it’s less susceptible to spoil, so even when it’s exposed to moisture and air, it won’t be as detrimental.
Furthermore, gluten-free flour is even more susceptible because it contains root and nut ingredients, and should be avoided altogether.
How Air and Water Can Damage Flour

Flour is like any other food, and it can be directly impacted when air, water, and light are introduced to it.
Therefore, no matter where or how you store flour, it should always be in an airtight container to prevent this.
When flour becomes exposed to these elements, the risk of it becoming spoiled increases substantially.
The air can cause it to dry out and become stale and the moisture will turn into mold within just a few days, so you have to do everything you can to protect it.
When left to its own devices, flour will last between three and eight months on the shelf at room temperature and in its original packaging.
To keep it for up to two years, you can place it in an air-tight container and in the freezer, or for one year in the refrigerator, but care needs to be taken not to let moisture in.
However, if you plan on storing flour for the purpose of a long-term survival kit and don’t want to replace this supply every few months, there are ways you can keep it for between 20 to 30 years.
The best way to do this is by working in bulk so you have an ample supply and considering the low cost of flour, it’s a smarter and more economical way to prep.
Proper Storage Methods

The correct storage of any piece of your survival kit is key to its longevity, and when it comes to flour, it’s one of the most crucial to get right.
When using the right method, you can store flour for up to 20 years, and it just takes half an hour of preparation to set up. Once done, you don’t have to think about it again for a long time.
This is a popular method for storing large quantities of plain flour for your prepping kit that keeps it in smaller portions so nothing is wasted.
Whenever you need it, you grab a bag of flour out of the bucket and leave the rest for later. Here are the basic supplies you’ll want to get started, and they can be easily multiplied if you want to store more flour:
- 25lbs of flour
- A five-gallon food grade bucket with lid
- 12 zip-lock bags
- Five small oxygen absorber packets
- Measuring scoop
With all of your supplies ready, you’ll need to find a place to store the five-gallon bucket so it’s not exposed to heat or sunlight.
Here’s how to prepare your flour stockpile so it’s ready for long-term storage.
- Label each of your zip-lock bags so that you know it contains plain flour, what date it was packaged, and how much is in there. For the purpose of this tutorial, we’ll be placing 12 cups of flour per bag. This enables you to only take out flour supplies as you need them.
- Use your measuring cup to carefully measure 12 cups of flour in each bag, and then make sure it’s sealed tightly when done. Once one bag is full, place it into the five-gallon bucket.
- Inside each of the buckets, place five oxygen absorber packets. Try to scatter them around so there’s some on the bottom and top. These absorbers will keep moisture and air out which means the flour stays fresh. If you want to use the flour within the next year, you can skip this step though.
- Place the lid on top and seal it up. Label the top of the container with its contents and packaging date as well.
- When it comes time to replace the flour bags, it’s best to do them all together. Otherwise, you could risk one bag spoiling the others. Make sure you change the date on the lid of the bucket to reflect this.
Signs That Flour Has Spoiled

Packets of flour usually come with expiration or best-by dates printed on them to give you an indication of when they will spoil, but if you’re using other methods for long-term storage, this isn’t always the best date to go by.
Therefore, knowing some of the signs that flour has gone bad will help:
- The flour will have an obvious smell when it spoils which might be classified as musty, stale, or sour.
- The color of the flour will change, even slightly, and it won’t have the pure white look that it once did.
- You might spot small or large clumps of mold when you sift through the floor.
If you notice any signs that the flour has gone bad, it needs to be discarded immediately.
Flour changes its entire molecular structure when it spoils which makes it dangerous to eat, and if mold is present, you will be ingesting mycotoxins which can cause symptoms like vomiting and diarrhea.
Flour As An Essential Supply
With a good supply of flour in your prepping kit, you can keep your family fed for years to come.
Learning the basics of correct storage and what can impact it is the best place to start and will guarantee your household never goes hungry in a disaster scenario.
Related Questions
Flour is an essential item when you’re thinking about food supplies for a prepping kit but with its shorter shelf life, it needs to be packaged carefully.
To learn more about what food you should include in a disaster kit, read on for a few FAQs on the topic.
What Are the Best Canned Foods for a Survival Kit?
Choosing a variety of staples is a smart way to approach canned food, with both sweet and savory options included.
For starters, collect some cans with contents like apples, baked beans, corn, and beef stew, making sure to choose those with long shelf lives so they will be good for at least another few years.
What Foods Are Best For Survival?
A good survival kit should have a selection of non-perishable foods with a long shelf life and enough to last all members of the family for at least five days.
In your food supplies, you’ll want to include things like jerky, trail mix, canned goods, dried beans, flour, rice, instant coffee, and energy bars.
Where Is The Best Place for Food Storage?
Food supplies in your emergency survival kit are best kept somewhere dark and cool, with nothing hotter than room temperature surroundings.
Some ideas for food storage spaces include pantries, cupboards, sheds, garages, cellars, and basements, depending on what you have available.
Resources:


